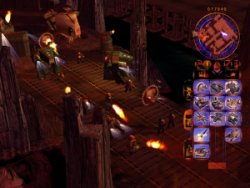
This is from Giedi Prime the homeplanet of the Harkonnen. In the upper left is the Sarduakar barracks, one of the SubHouse structures. On the bridge are the Harkonnen Devastator, their Flamer Infantry as well as the Buzzsaw.
|
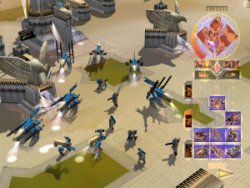
Caladan is shown in this screenshot, homeworld to House Atreides. You can see the Minotaurus often along with some infantry and the smaller Mongoose unit as well. Two Atreides Barracks and a Palace are the structures seen here.
|
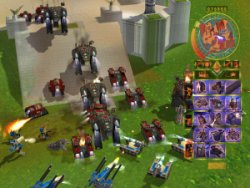
Another screenshot of Caladan this time with a large batlle between the Atreides and Harkonnen. The Harkonnen are attacking with Devastators, Flame Tanks, and Missile Launchers while the Atreides counter with Sonic Tanks, Minotaurus', and a SubHouse unit the Guild Maker.
|
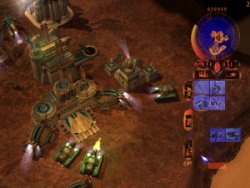
This is a dawn attack on an Atreides base. There is a Construction Yard, Refinery, and Output shown along with a few Harvesters.
|
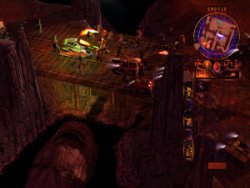
A large bridge battle on Giedi Prime. The Inkvine Catapult can be seen in the lower right. A lot of infantry in this shot, including Flame Infantry and some Tleilaxu Contaminators.
|
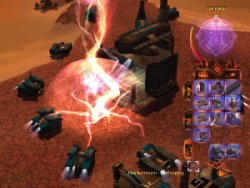
A group of Harkonnen units under attack by the Ordos special weapon, an electrical attack.
|
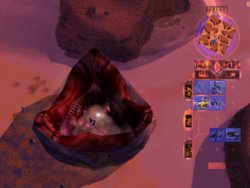
The much improved Sandworm swallowing a group of infantry, this looks to be the largest of the three different sized Sandworms.
|
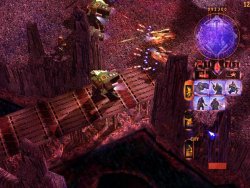
Harkonnen Devastators take on two Ordos Laser Tanks on Giedi Prime. |
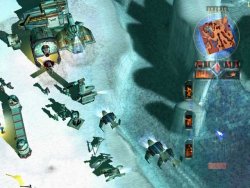
Ornithopters about to make a bombing run on Sigma Draconis, the Ordos homeplanet. There are some Dust Scouts at the bottom of the screen and Gas Turrets on the left. A Pop-Up Turret is in the middle of the shot and an Kobra Cannon above it.
|
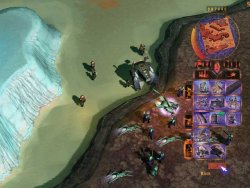
The Ordos and Harkonnen battle on Dune somewhere near the polar ice caps. Some various units and infantry are shown. |
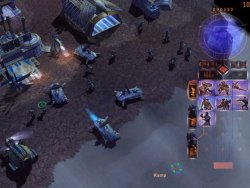
An Atreides base at night with a variety of units and infantry. There are 4 Ix Projector units shown as well. |
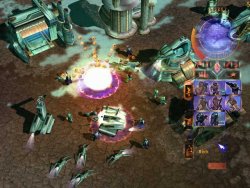
The Ordos under with some large explosions. There are some Dust Scouts and Kobra Cannons shown and the Ordos Barracks.
|
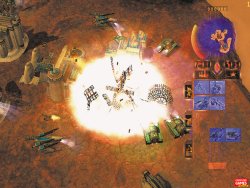
A large explosion at an Atreides base. You can see how the buildings have scaffolding like setup while exploding which you can when they are built as well. |
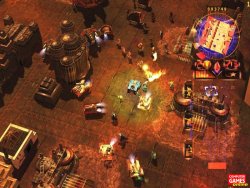
The Harkonnen attack what looks to be a small group of Ordos units. You can see the some units with shields near the bottom of the screen. |
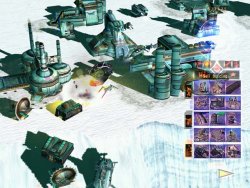
The Harkonnen are attacking the Ordos on what looks to be the Ordos homeplanet. The Guild NIAB Tank unit can be seen in the middle of the screen and you can just make out the Starport in the upper right.
|
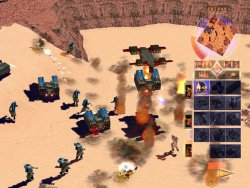
Some Harkonnen units are being attacked on the sand while one is picked up by an Advanced Carryall. There also looks to be a Engineer under heavy fire at the bottom of the screen. |
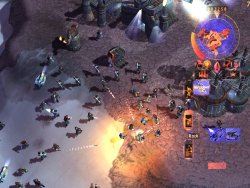
A Harkonnen base under attack with a large number of infantry involved. The Flame Turret is rather obvious and you can see the Atreides Sand Bikes avoiding the main battle. |
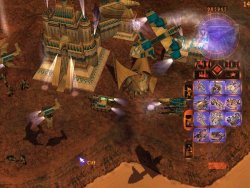
Two Atreides Ornithopters fly over their own base with a Carryall nearby. You can also make out the Atreides Palace as well as the Fremen SubHouse structure and the Atreides Sonic Tank in between the two.
|
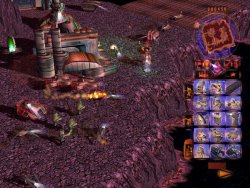
An Ordos base under attack by the Atreides. You can see the sheilded Atreides APC beside two Ordos Lasgun tanks who also have shields. You can see some Ordos Dust Scouts at the bottom and some Sand Bikes entering from the top. |
Can't make much out because of the size of this shot but it looks to be the Atreides and Harkonnen battling each other on the sand. |
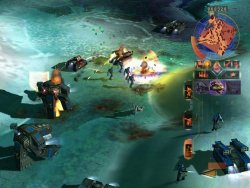
The Harkonnen Devastators are fairly large in this shot and seem to be attacking another Harkonnen force of Missile Tanks and an Inkvine Catapult at the top. There are also some SubHouse units, most likely the Tleilaxu Contaminators.
|
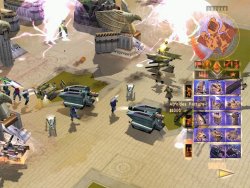
The Ordos attack an Atreides base with their Kobra Cannons and their special Electrical Attack. There is also an Ordos Laser Tank on the right with a few Atreides Minotaurus' trying to defend it all. |
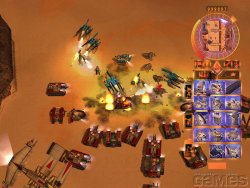
A large battle between the Harkonnen and Atreides containing manly tanks. You can see Harkonnen Flame Tanks, Buzzsaws, Inkvine Catapults, and Missile Tanks which should have no problem handling the small Atreides force. |
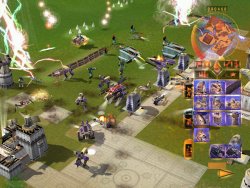
Here the Atreides are being attacked by the Ordos on their homeplanet Caladan. The Ordos are using their special weapon, the Electrical Attack, at the right and left of the screen. You can also see some Leech units, including some on the Minotaurus in the middle, and Sand Bikes elsewhere on the screen.
|
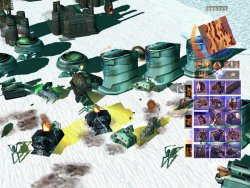
This looks to be a Harkonnen base under attack by a few Ordos units on Draconis. The units in the middle area on fire are the Guild's NIAB Tank transport units. |
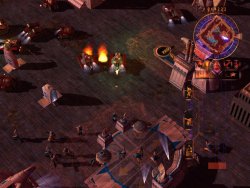
This shot clearly shows the Starport at the bottom of the screen with some Atreides infantry surrounding it. There are some Harkonnen tanks above involved somewhere of screen. |
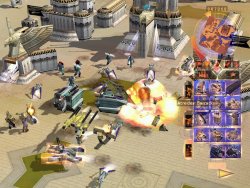
A number of Ordos units are making quick work of the small Atreides defense. The large explosion looks to be from a Atreides Minotaurus.
|
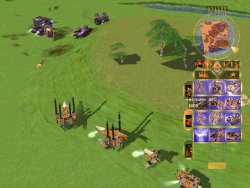
A nice green shot of Caladan which shows two small forces of Harkonnen and Atreides about to meet. Off in the background you can see a river, although there are no "naval" units in Emperor. |
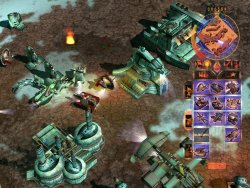
A small Harkonnen force attacks an Ordos base. You can see small dots in the bottom right which are where extra Refinery Pads go and the Carryall looks to be bringing a Harvester back to the Refinery. |
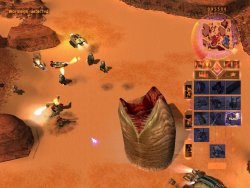
A Sandworm is shown here protecting the Spice field. Off in the background you can make out some Harkonnen and Atreides units.
|
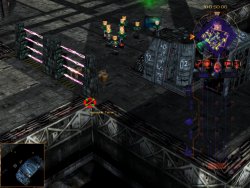
Taken from the mission aboard the Guild Heighliner, here you can see a number of Elite Infantry. |
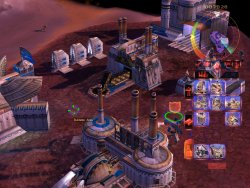
Closeup on an Atreides base with a Construction Yard in the centre. In the background it looks as though as Scout is approaching. |
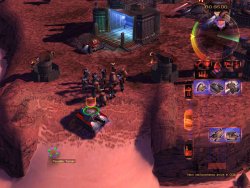
A group of Harkonnen Flamer Infantry and Troopers guard the entrace to the base along side a Assault Tank and Flame Turrets.
|
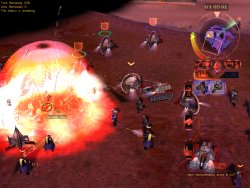
Some Sardaukar and Harkonnen Troops take out a building with a large explosion. |
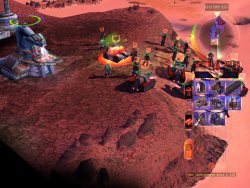
A group of Harkonnen troops amass outside an Ordos base. |
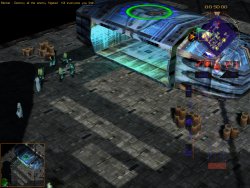
One of the enemy frigates that has to be destroyed in the Heighliner mission.
|
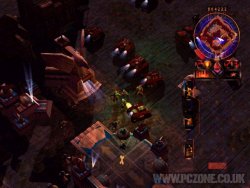
Harkonnen Assault Tanks attack an Atreides base. |
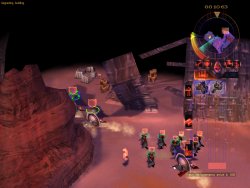
Harkonnen Buzzsaw and infantry make their way through some cliff walls. |
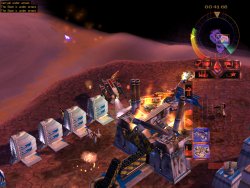
An Atreides Construction Yard about to be destroyed.
|
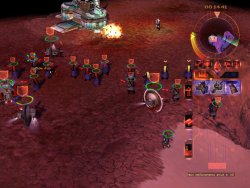
Harkonnen Troops and Sardaukar take out what is left of the Ordos base. |
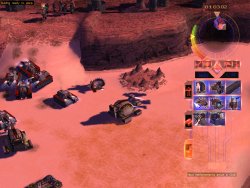
Some Harkonnen units outside their base on the sand, some infantry rock is beside them. |
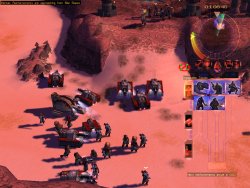
Harkonnen units await orders out on the sand with reinforcements arriving soon.
|
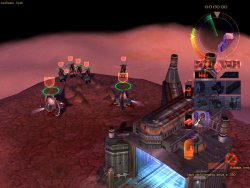
The Harkonnen Factory is seen near the bottom with troops above waiting for an attack. |
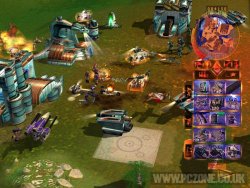
The Ordos taking on a small Atreides attack force. |
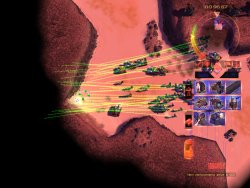
Harkonnen troops are given the move command and waypoint lines are shown.
|
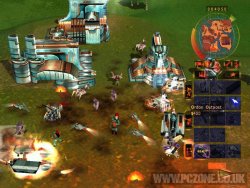
The Tleilaxu Subhouse helps the Atreides attack the Ordos. |
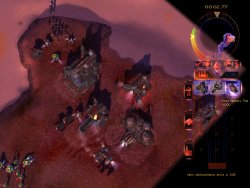
Fully zoomed out screenshot showing the Harkonnen base. |
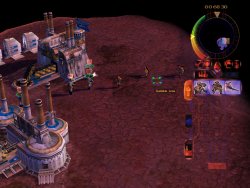
A few enemy troops approach the Atreides base.
|
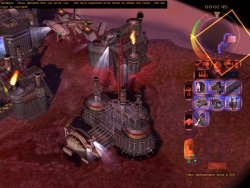
A Harkonnen base that is just getting a new Refinery built. |
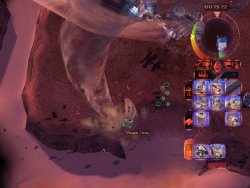
A Sandstorm approaches, causing damage wherever it heads. |
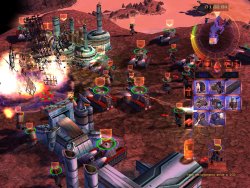
Harkonnen's lay waste to an Ordos base.
|
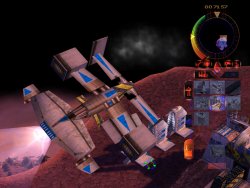
Very closeup shot of the Carryall used to pickup and transport Harvesters. |
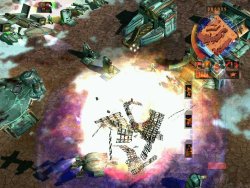
The Ordos Refinery explodes after being hit by the Harkonnen. |
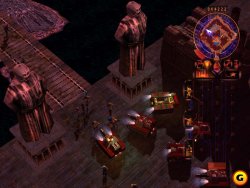
Harkonnen troops surround the statues of past Barons on their homeworld Giedi Prime.
|
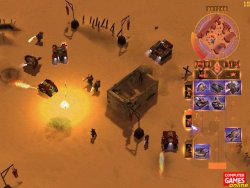
Harkonnen units remove whatever opposition there was in a small desert community. |
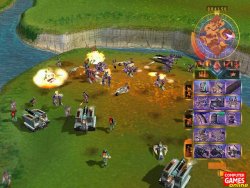
The Ordos and Atreides battle it out near a river on Caladan the Atreides homeworld. |
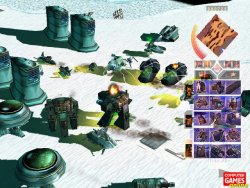
The Ordos defend against the Harkonnen Devastators with help from the Guild and Ix.
|
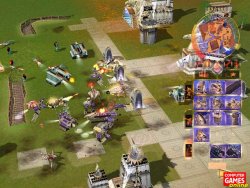
The Leech units attack the Atreides on their homeworld, you can see some infantry trenches here as well. |
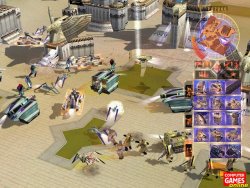
The Ordos swarm an Atreides base with little opposition. |
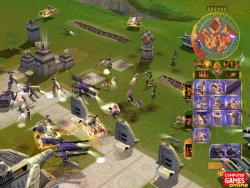
Atreides try to defend against Laser Tanks and Kobras with some Minotaurus' and Mongooses.
|
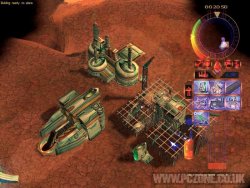
The beginnings of a small Ordos base, looks to be a Factory being built. |

A group of Atreides Mongoose and Sand Bikes defend against a lone Buzzsaw. |
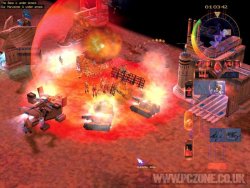
Part of an Atreides base goes up in an Harkonnen attack.
|
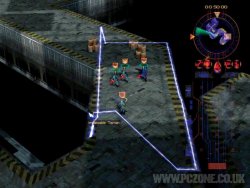
Infantry being selected during the Guild Heighliner mission. |
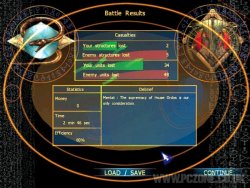
Results of a mission for the Ordos, seen after every mission. |
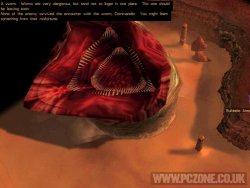
The largest Sandworm type comes out of the sand to take out some units.
|
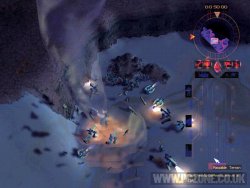
A small group of Atreides units are about to be damaged heavily by the Sandstorm. |
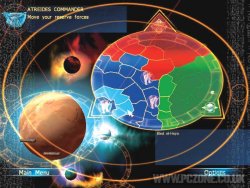
Here you are given the option to move your reserve forces about the map. |
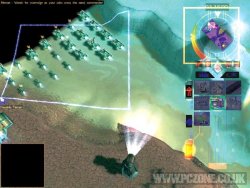
A large group of Ordos Dust Scouts and Laser Tanks arrive in the form of reinforcements.
|
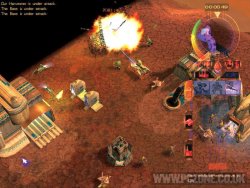
The Ordos along with some Tleilaxu units attack a poorly defended Atreides base. |
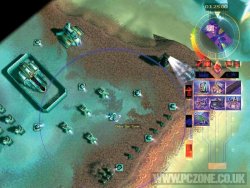
Overhead view of the Ordos base in the first campaign mission. |
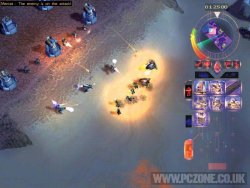
The Atreides defend against a small force of Harkonnen.
|
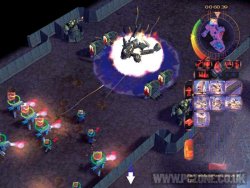
A group of Mongoose help take out a building resulting in a large explosion. |
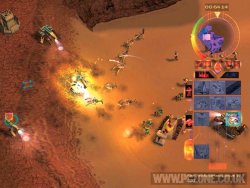
A whole lot of Leeches attempt to storm an Atreides base. |
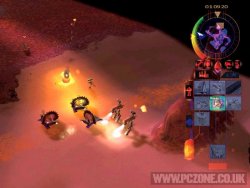
Some Buzzsaws and Mongooses attack each other on the sand.
|
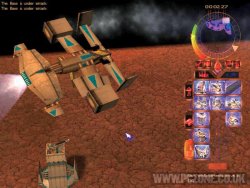
A Carryall flys over the Atreides Gun Tower. |
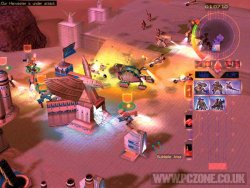
Two opposing groups of Atreides units attack eachother. |
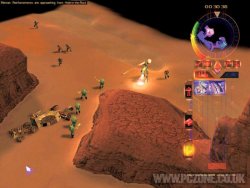
Some Ordos infantry find a few Atreides units near some wrecked units.
|
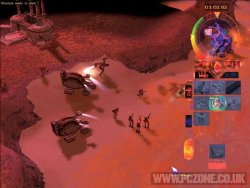
Two Harvesters about to head out for spice are by a group of infantry celebrating a kill. |
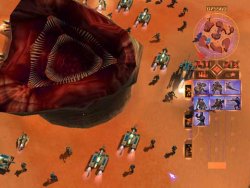
The largest Sandworm types takes out a number of Atreides units which are crossing the sand. |
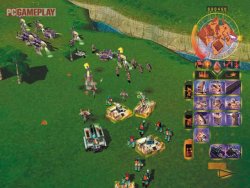
Large groups of Atreides and Ordos forces meet up to attack on Caladan.
|
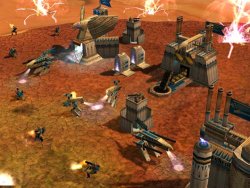
An Atreides base with the Ordos superweapon the Electrical Attack being used in the distance. |
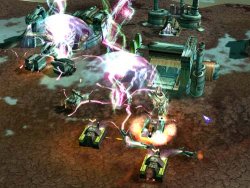
The Ordos Electrical attack hits a number of units at an Ordos base. |
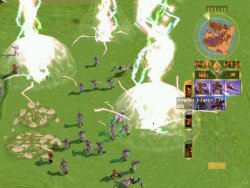
A large group of Tleilaxu Contaminators is hit with the Ordos Electrical Attack.
|
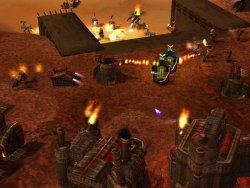
Some Guild NIAB Tanks are under heavy fire in an Harkonnen base. |
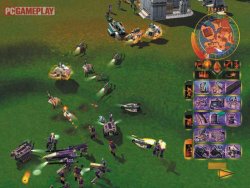
A group of Ordos units make an attempt to stop an attack by the Atreides. |
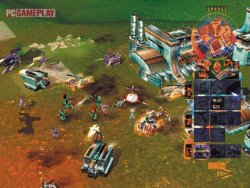
Atreides attack the Ordos base with a small attack force.
|
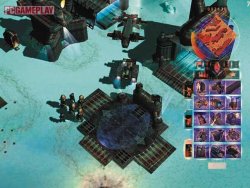
The Starport is seen here with some Harkonnen Flamer Infantry and Advanced Carryall nearby. |
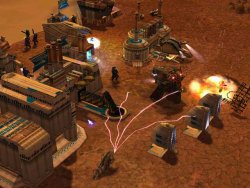
A Guild Maker unit attacks some Harkonnen units including a Devastator. |
|